Introduction
Installing ePRINTit FileToPrint For Macintosh
Creating An ePRINTit Cloud Account
Adding The ePRINTit Printer
Uploading Files To The ePRINTit Cloud Using FileToPrint
Disabling The Remember Me Option
Releasing Print Jobs Using An ePRINTit Embedded App
Releasing Print Jobs At An ePRINTit Kiosk
ePRINTit FileToPrint is used to upload files directly from a Macintosh computer to the ePRINTit Cloud. This version of FileToPrint is installed on a Macintosh client computer. Another version exists for Windows computers.
FileToPrint is an easier way to upload files since it's as simple as selecting the ePRINTit printer and then clicking Print.
This document will expand on installing the ePRINTit FileToPrint on a Macintosh client, starting an ePRINTit Cloud account, uploading files to the ePRINTit Cloud and releasing the file from the cloud for printing to the ePRINTit Kiosk and the Embedded App at the physical printer (HP/Xerox).
FileToPrint is installed on a Macintosh computer. The minimum system requirement is OS X 10.11 El Capitan or later.
To install FileToPrint, do the following:
- In a Web browser, go to www.eprintit.com/downloads, download ePRINTit F2P Installer.pkg.zip and extract it.
- Double-click the installation package, ePRINTit F2P Installer.pkg.
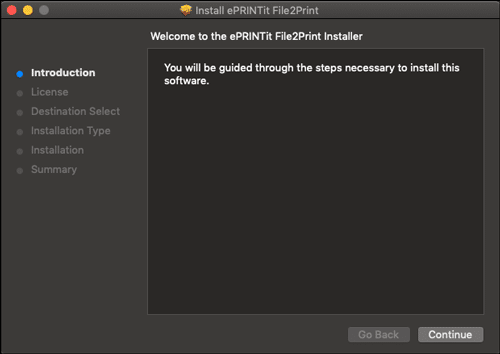
- In the Welcome screen, click Continue.
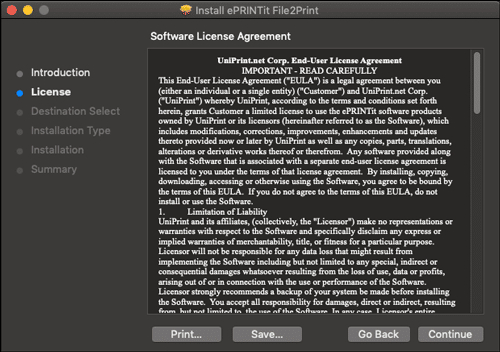
- In the Software License Agreement screen, review the license agreement and then click Continue.
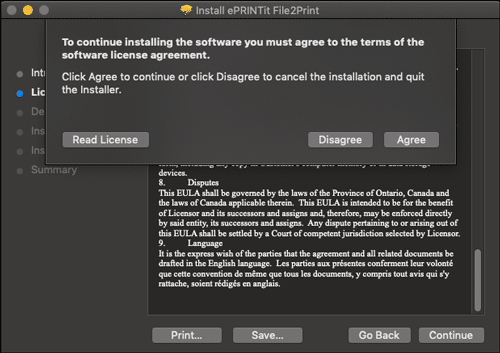
- Click Agree.
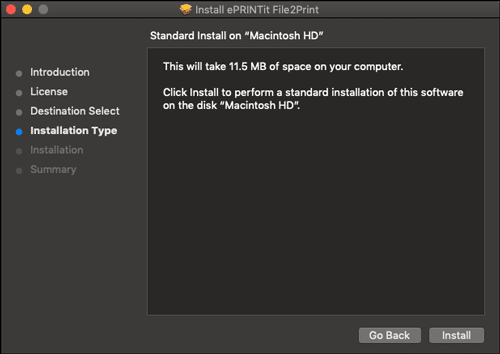
- Click Install.
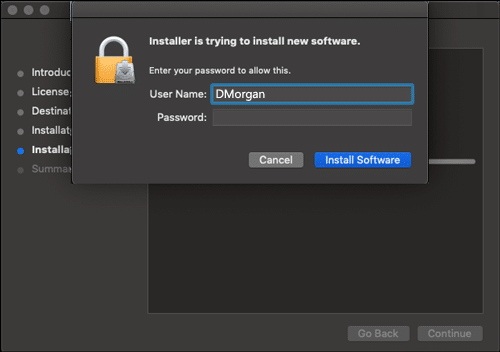
- Enter user credentials and then click Install Software.
- In the Summary screen, click Close.
- The ePRINTit icon will appear in the dock.

To get started with ePRINTit, an online account needs to be created first. Documents and other files to be printed are first uploaded to this account,such that if additional printing is required at a later time, the document is readily available.
To create an account, do the following:
- In a Web browser, navigate to your organization's ePRINTit Web site. It will be something similar to MyOrganization.eprintit.com. Contact your administrator, if you don't know your organization's Web portal URL.
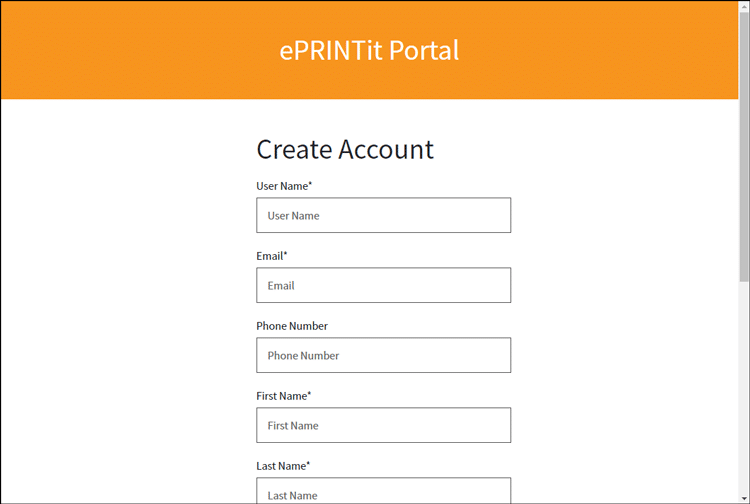
- Under Forgot password, click Create account.

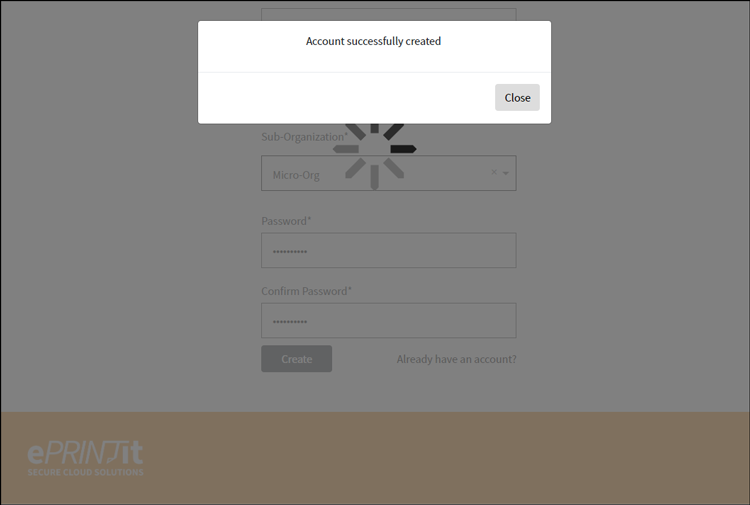
- Complete the form and then click Create. NOTE: For Sub-Organization, contact your administrator. The Sub-Organization could be by faculty, college, campus, department or project, depending on what was set up by your administrator.
- Click Close.
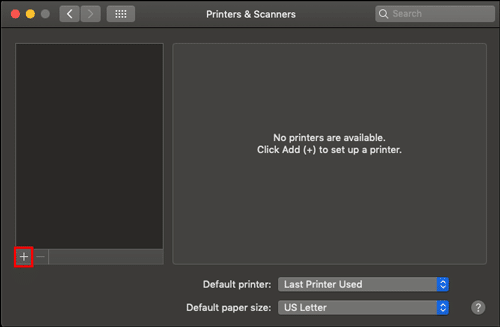
Before printing, the ePRINTit printer needs to be added. This is done in System Preferences.
To add the ePRINTit printer, do the following:
- In the dock, click
 or click the Apple menu
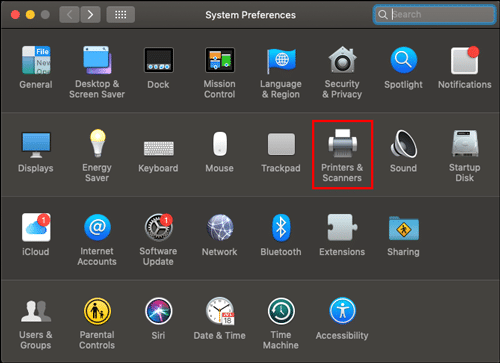
  and then click System Preferences.
 - Double-click Printers & Scanners.
- To add a printer, click +.
- Click to select ePRINTit and then click Add.
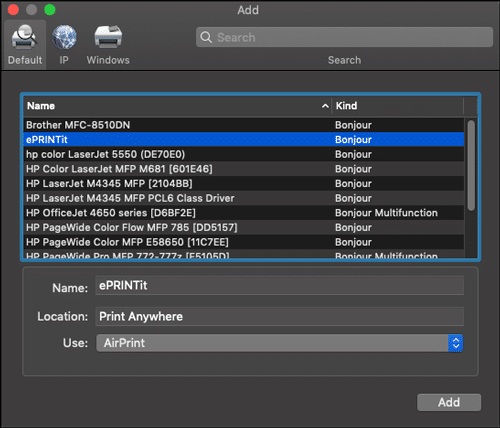
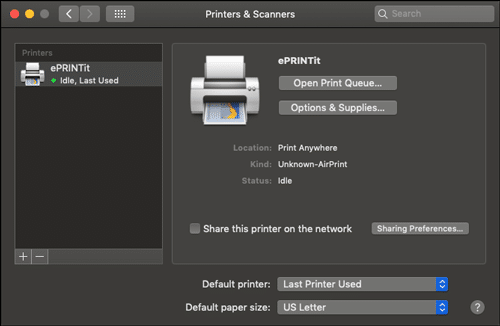
- The ePRINTit printer will be added.
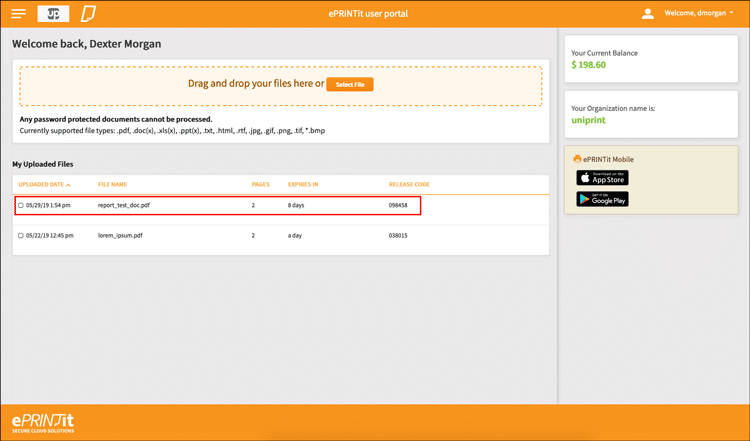
Documents and files on the Macintosh can be uploaded to the ePRINTit Cloud as easily as printing it with FileToPrint. After the file is uploaded to the ePRINTit Cloud, it can be accessed and printed as many times as required or as many times as you can afford. Print jobs are archived in the ePRINTit Cloud for 8 days.
To upload a file to ePRINTit, do the following:
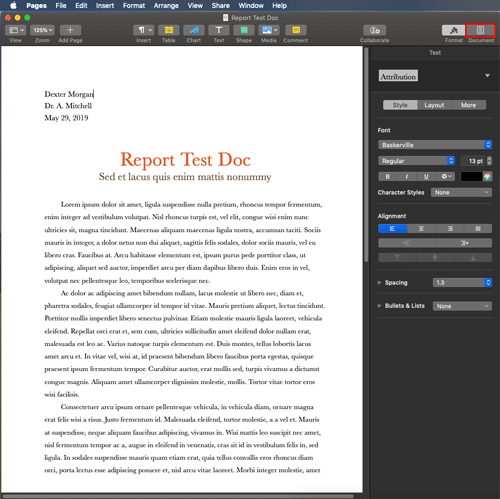
- Open an application from which to print, for example, Pages.
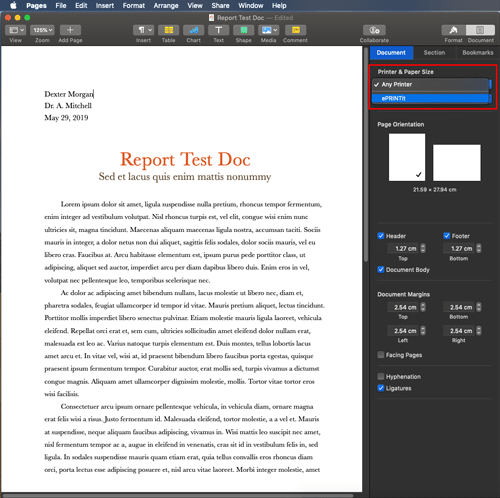
- To change the document and section options, click
 .
.
- From the Printer list, select ePRINTit.
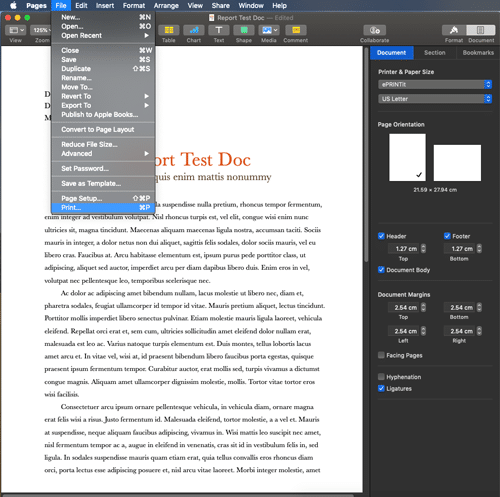
- From the File menu, click Print or press
 +P to print.
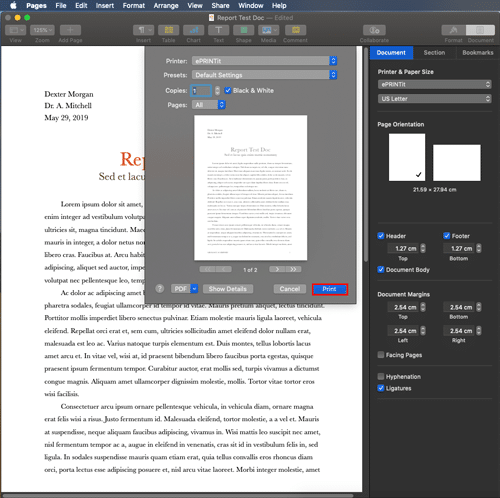
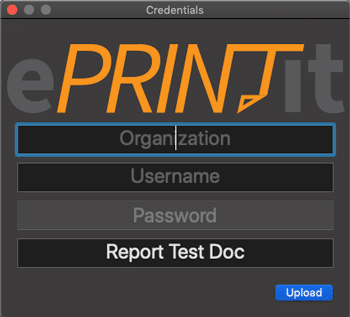
- Ensure that ePRINTit is selected as the printer and then click Print.
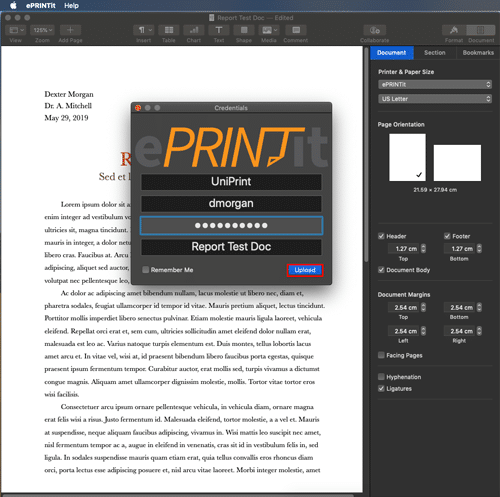
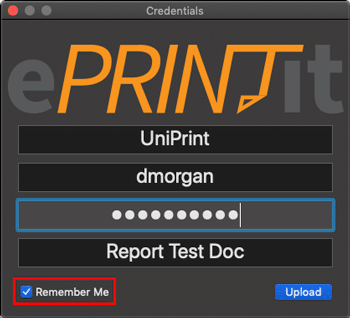
- Enter your ePRINTit Cloud credentials and then click Upload.
- In a web browser, log into your organization's ePRINTit Cloud.
- The print job will appear in the list, ready to release to a printer.
By default, when printing to the ePRINTit printer, the Remember Me option is available to the user. If this option is selected File2Print will save the user's credentials and the window to enter user credentials will no longer appear. The print job will automatically be uploaded to the user's ePRINTit Cloud.
In situations whereby computers are shared amongst many users, for example, in a student computer lab, this option could create security issues and it is recommended that the Remember Me option be disabled.
In situations whereby computers are shared amongst many users, for example, in a student computer lab, this option could create security issues and it is recommended that the Remember Me option be disabled.
- On the Macintosh computer, open Terminal. In the Dock, click the Launchpad icon
 and the type Terminal in the search field. Click Terminal.
 - At the command prompt, type the following and then press ENTER.
$ defaults write com.eprintit.file2print LabMode 1 - Restart the computer. From the Apple menu
 , select Restart.
 - Print as usual to the ePRINTit printer. The Remember Me option will no longer be available to the user.
After your files have been uploaded to the ePRINTit Cloud, you can proceed to release and print them out from any multifunction printer that has the ePRINTit Embedded App installed. NOTE: The screen shots below are for Xerox MFP devices and are only used as an example. Actual screens will differ slightly depending on the manufacturer and version of the ePRINTit Embedded App.
To release print jobs, do the following:
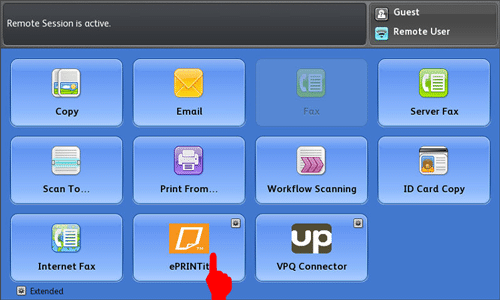
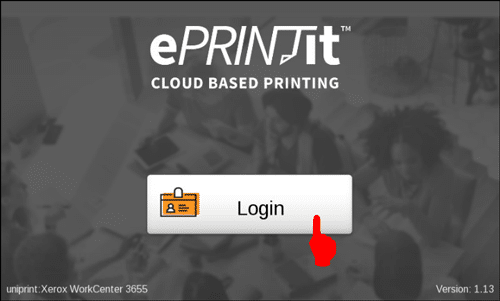
- At the printer console, tap ePRINTit. NOTE: If the Walkup screen has be configured, the screen greeting users, will be the one shown in step 2.
- Tap Login.
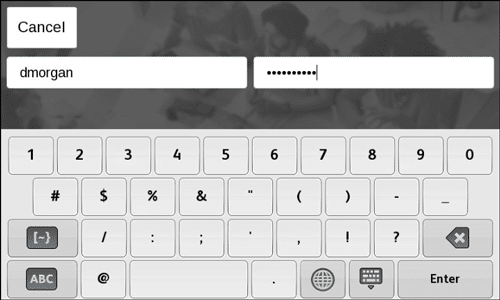
- Tap to enter your user name and password and then tap Enter.
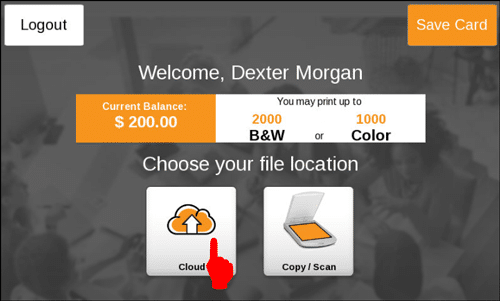
- Tap Cloud.
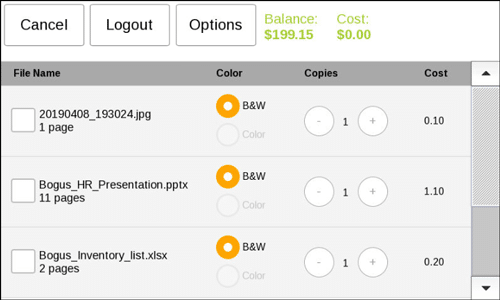
- Tap to select a file to print and then tap Print.
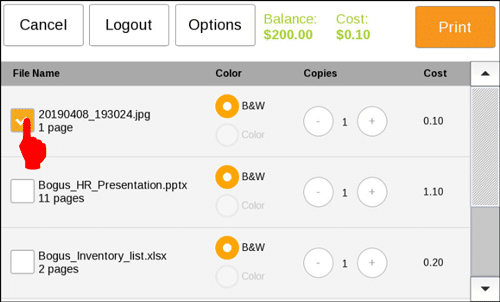
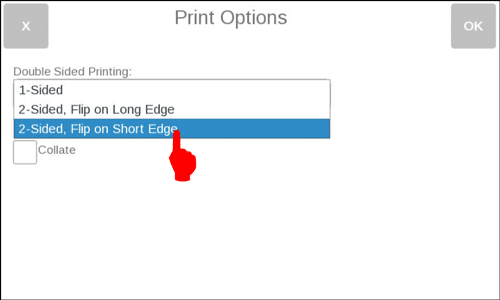
a) To change print options, tap Options.
b) Tap to change print options and then tap OK.
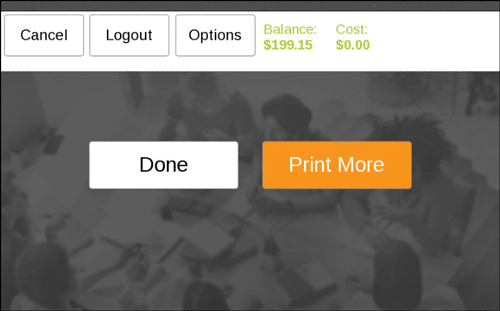
- To continue to print more files, tap Print More.
- Tap to select another file to print and then tap Print.
- If done with printing, tap Done and you will be automatically logged out.
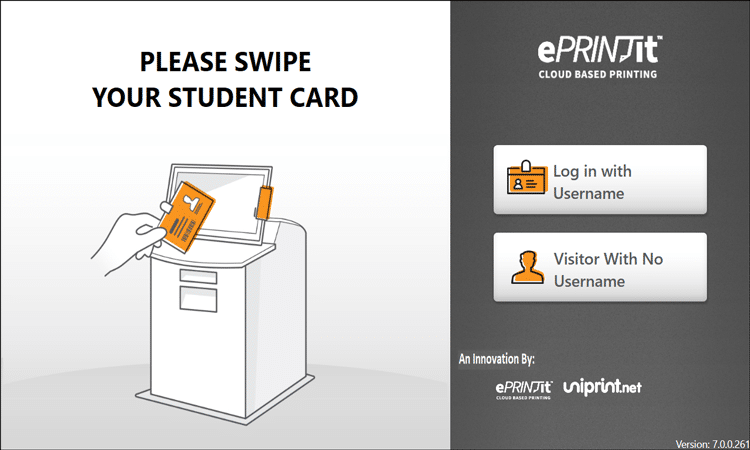
Some organizations have deployed ePRINTit Kiosks similar to the one below although the kiosks maybe decorated with the organization's colors and graphics.
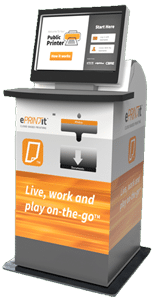
Depending on the type of kiosk deployed some can print not only black and white documents, but also color documents and even color photos on photographic paper. The screen shots below are generic screen shots for a school or university and are only used as an example. ePRINTit screens can also be personalized for each individual organization with logos and corporate colors.
Releasing and Printing with a Username
To release and print documents saved to the ePRINTit Cloud at an ePRINTit Kiosk and you have an ePRINTit Username, do the following:
- If swipe-authentication is enabled, swipe your card or tap Log in with Username.
- Tap to enter the credentials you created when registering with the ePRINTit Cloud and then tap Login.
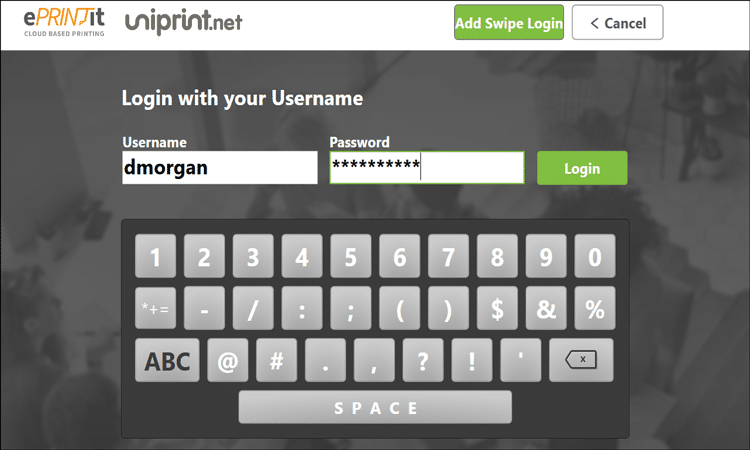
a) To simplify your login, you can create a Swipe Login which will associate your Username with your ID card. To create a Swipe Login, tap Add Swipe Login and the follow the instructions.
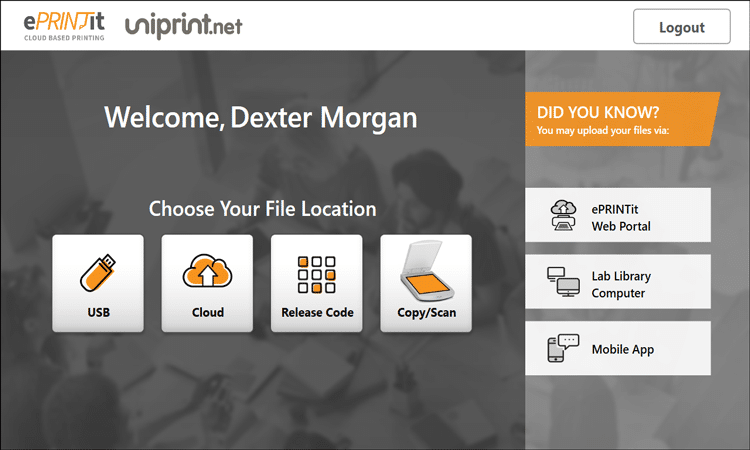
- Tap to select the source of the document. For example, to print the document that was uploaded to the ePRINTit Cloud, tap Cloud.
- Tap to select different Print Options. To preview the document, double-tap the file name.
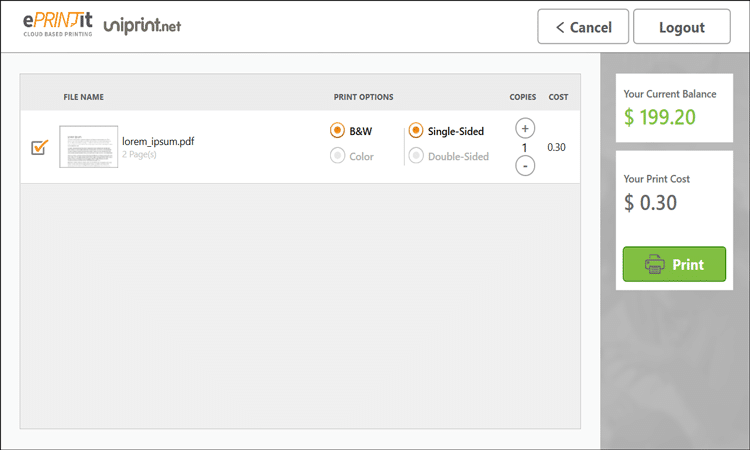
- Tap to select a page range to print and then tap OK.
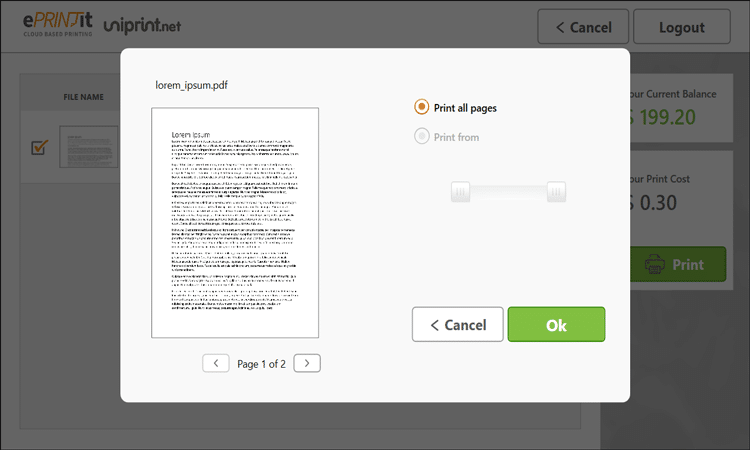
- Tap Print.
- The current balance on your ePRINTit account will be displayed and your document will be printed.

Releasing and Printing Without A Username
For those who do not have an ePRINTit Cloud account, the option to print as a Visitor With No Username is available. However, the number of options will be limited.
To print without an ePRINTit Cloud account, do the following:
- At the kiosk, tap Visitor With No Username.
- The file to be printed can be uploaded from an USB flash drive or it can be scanned from the printer itself. If you uploaded the documented by using the Public Print App, then the Release Code generated in this app.
- Before printing, a credit card is required and the fee includes a transaction fee.
- After paying, tap Print.